
Reading Time: 4 minutes
Canon EOS 5D Mark II: How to Replace the Rubber Covers for the Interface Terminals
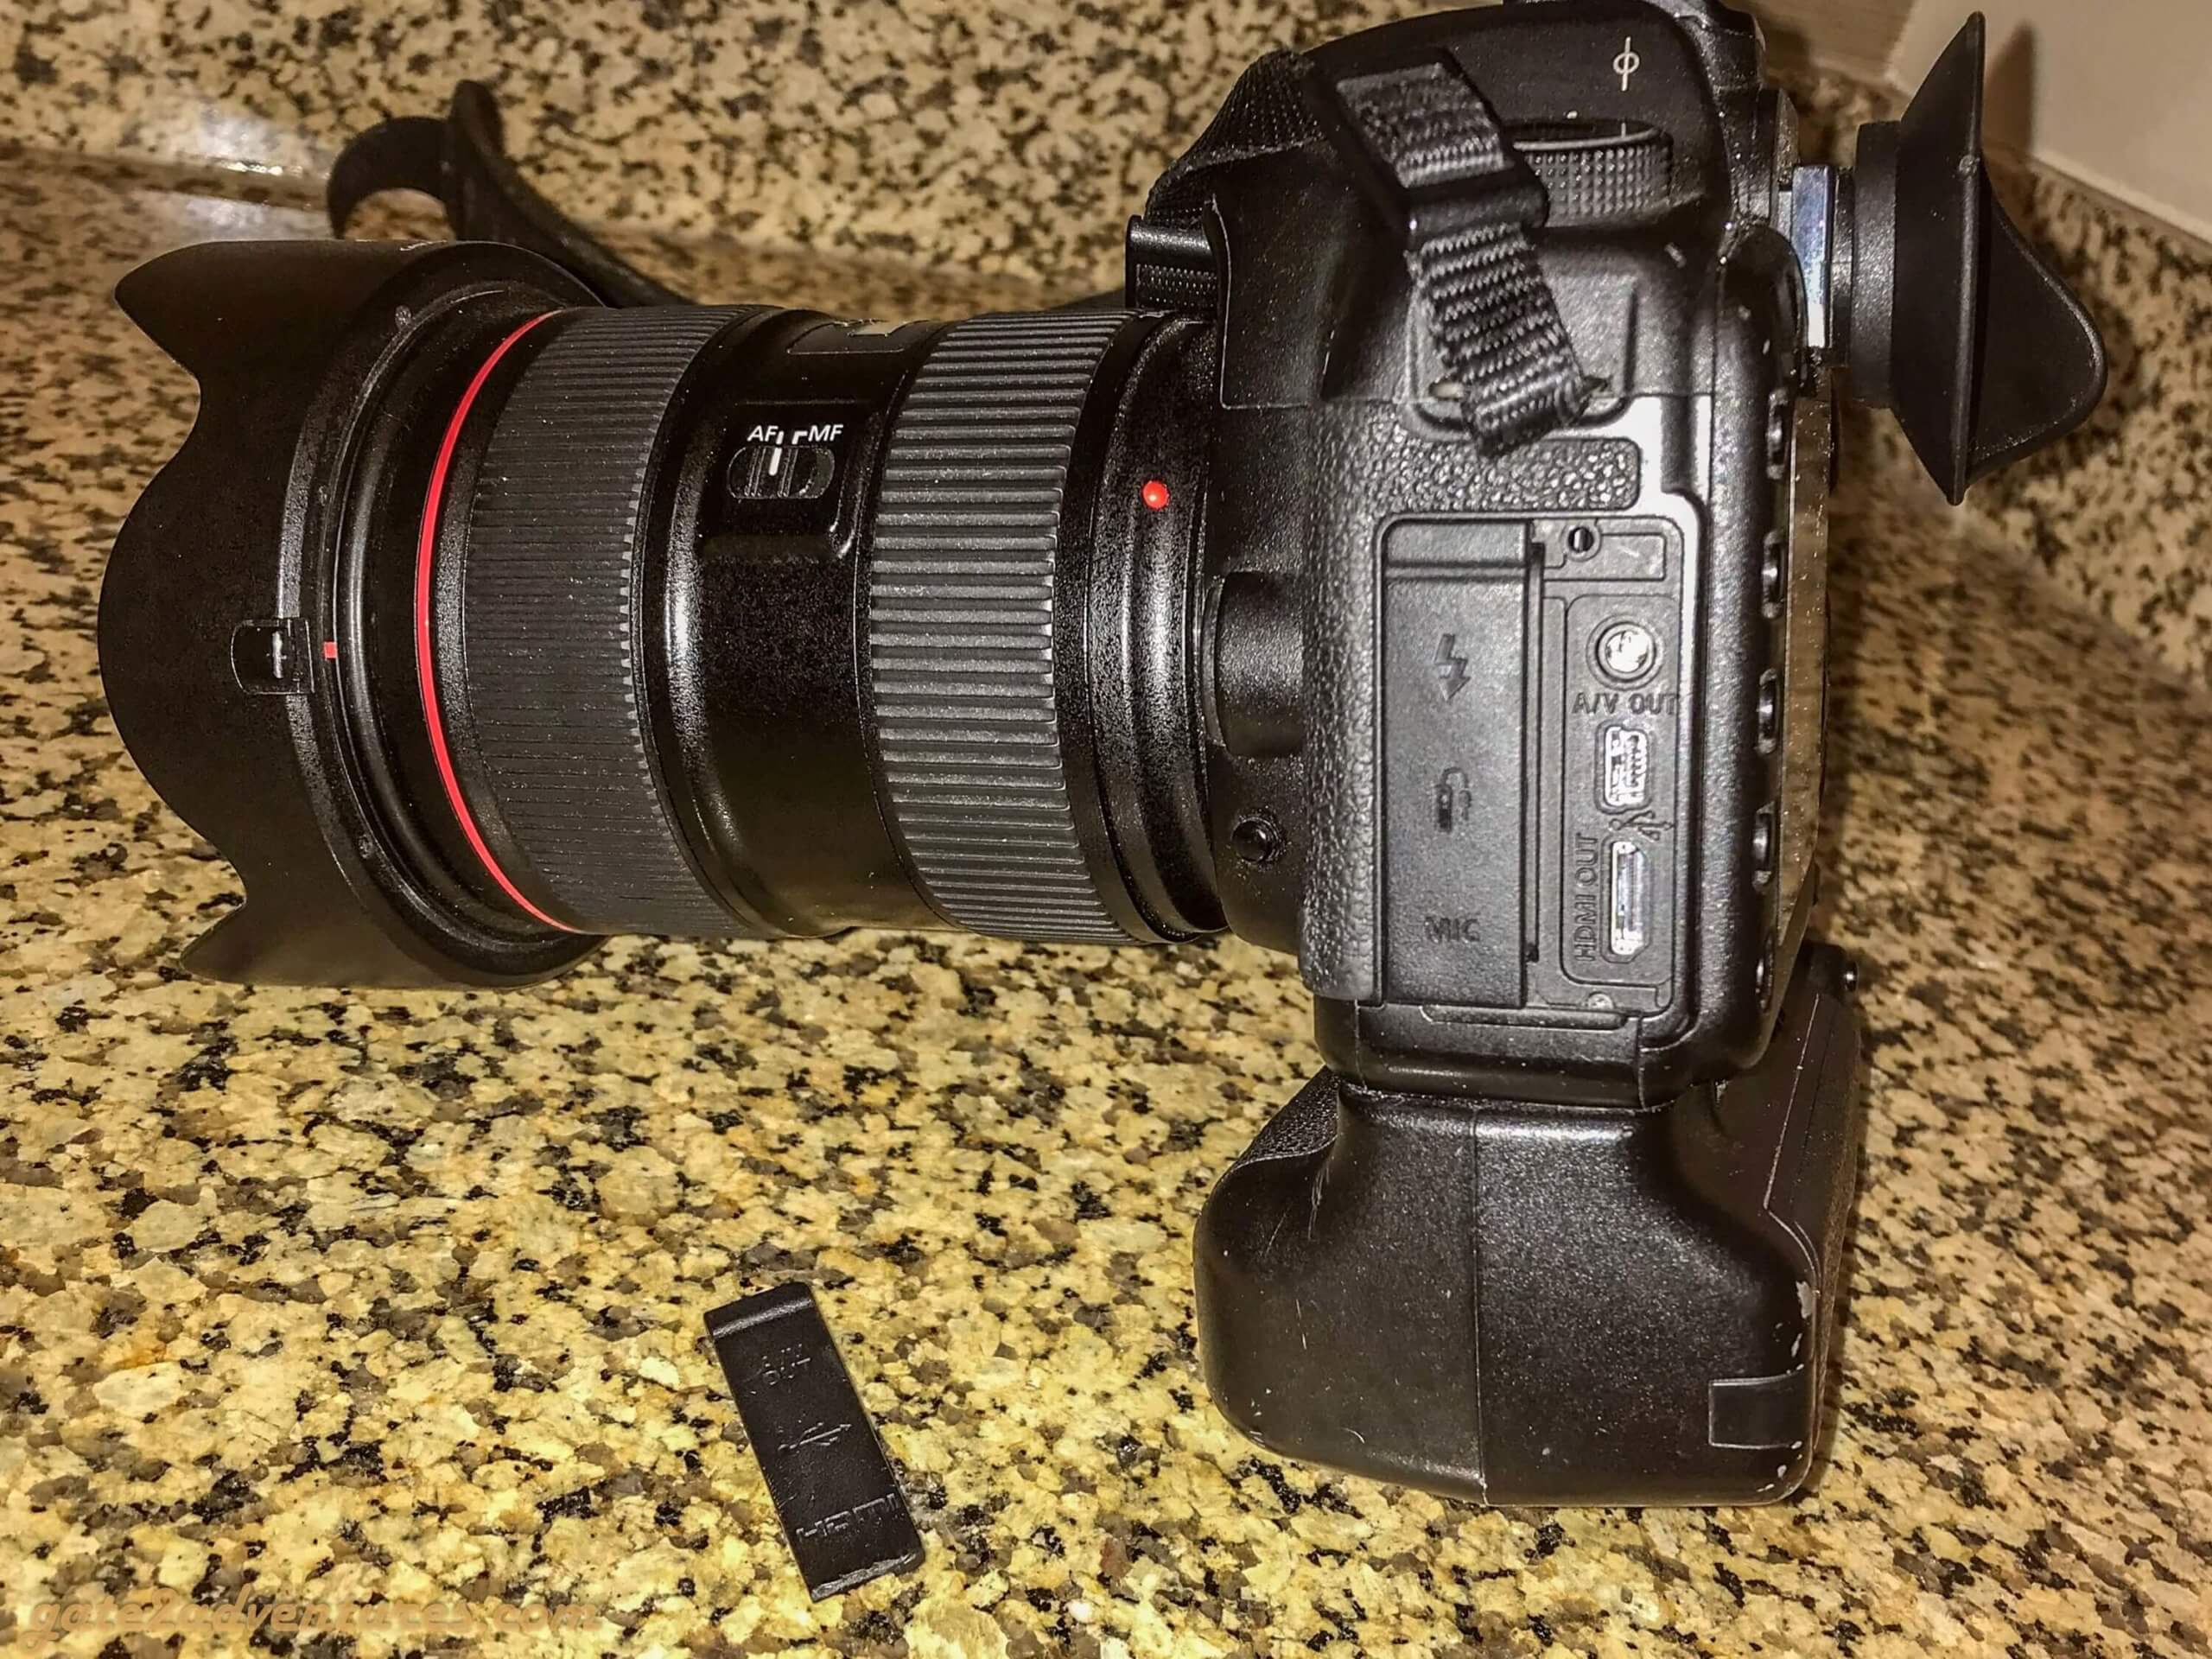
The Canon EOS 5D Mark II is still my go-to camera. Even with its age of over 10 years, it’s still a perfectly great camera. I have taken the camera all over the world with me. Besides a small issue, where Lufthansa broke my lens by forcing me to gate-check my camera back, even against their own terms of carriage, I only had one other issue. The dial wheel on the top right stopped working. The CPS team took care of that issue and I had my camera back in almost no time. For years to come, I didn’t have any issues with my camera. Until last week.
I broke the rubber cover which covers the USB port. The issue of this defect was definitely aging as I use the USB port to download my pictures from the camera. The rubber just got old and broke. The cover would still stick to the camera if pressed in place, but it will now detach when opening the cover and I was worried that I will lose it. Then the ports are without protection and if I get water on my camera it will probably end in a disaster. I took the camera to a store where I purchased stuff before and was actually hoping for an easy fix.
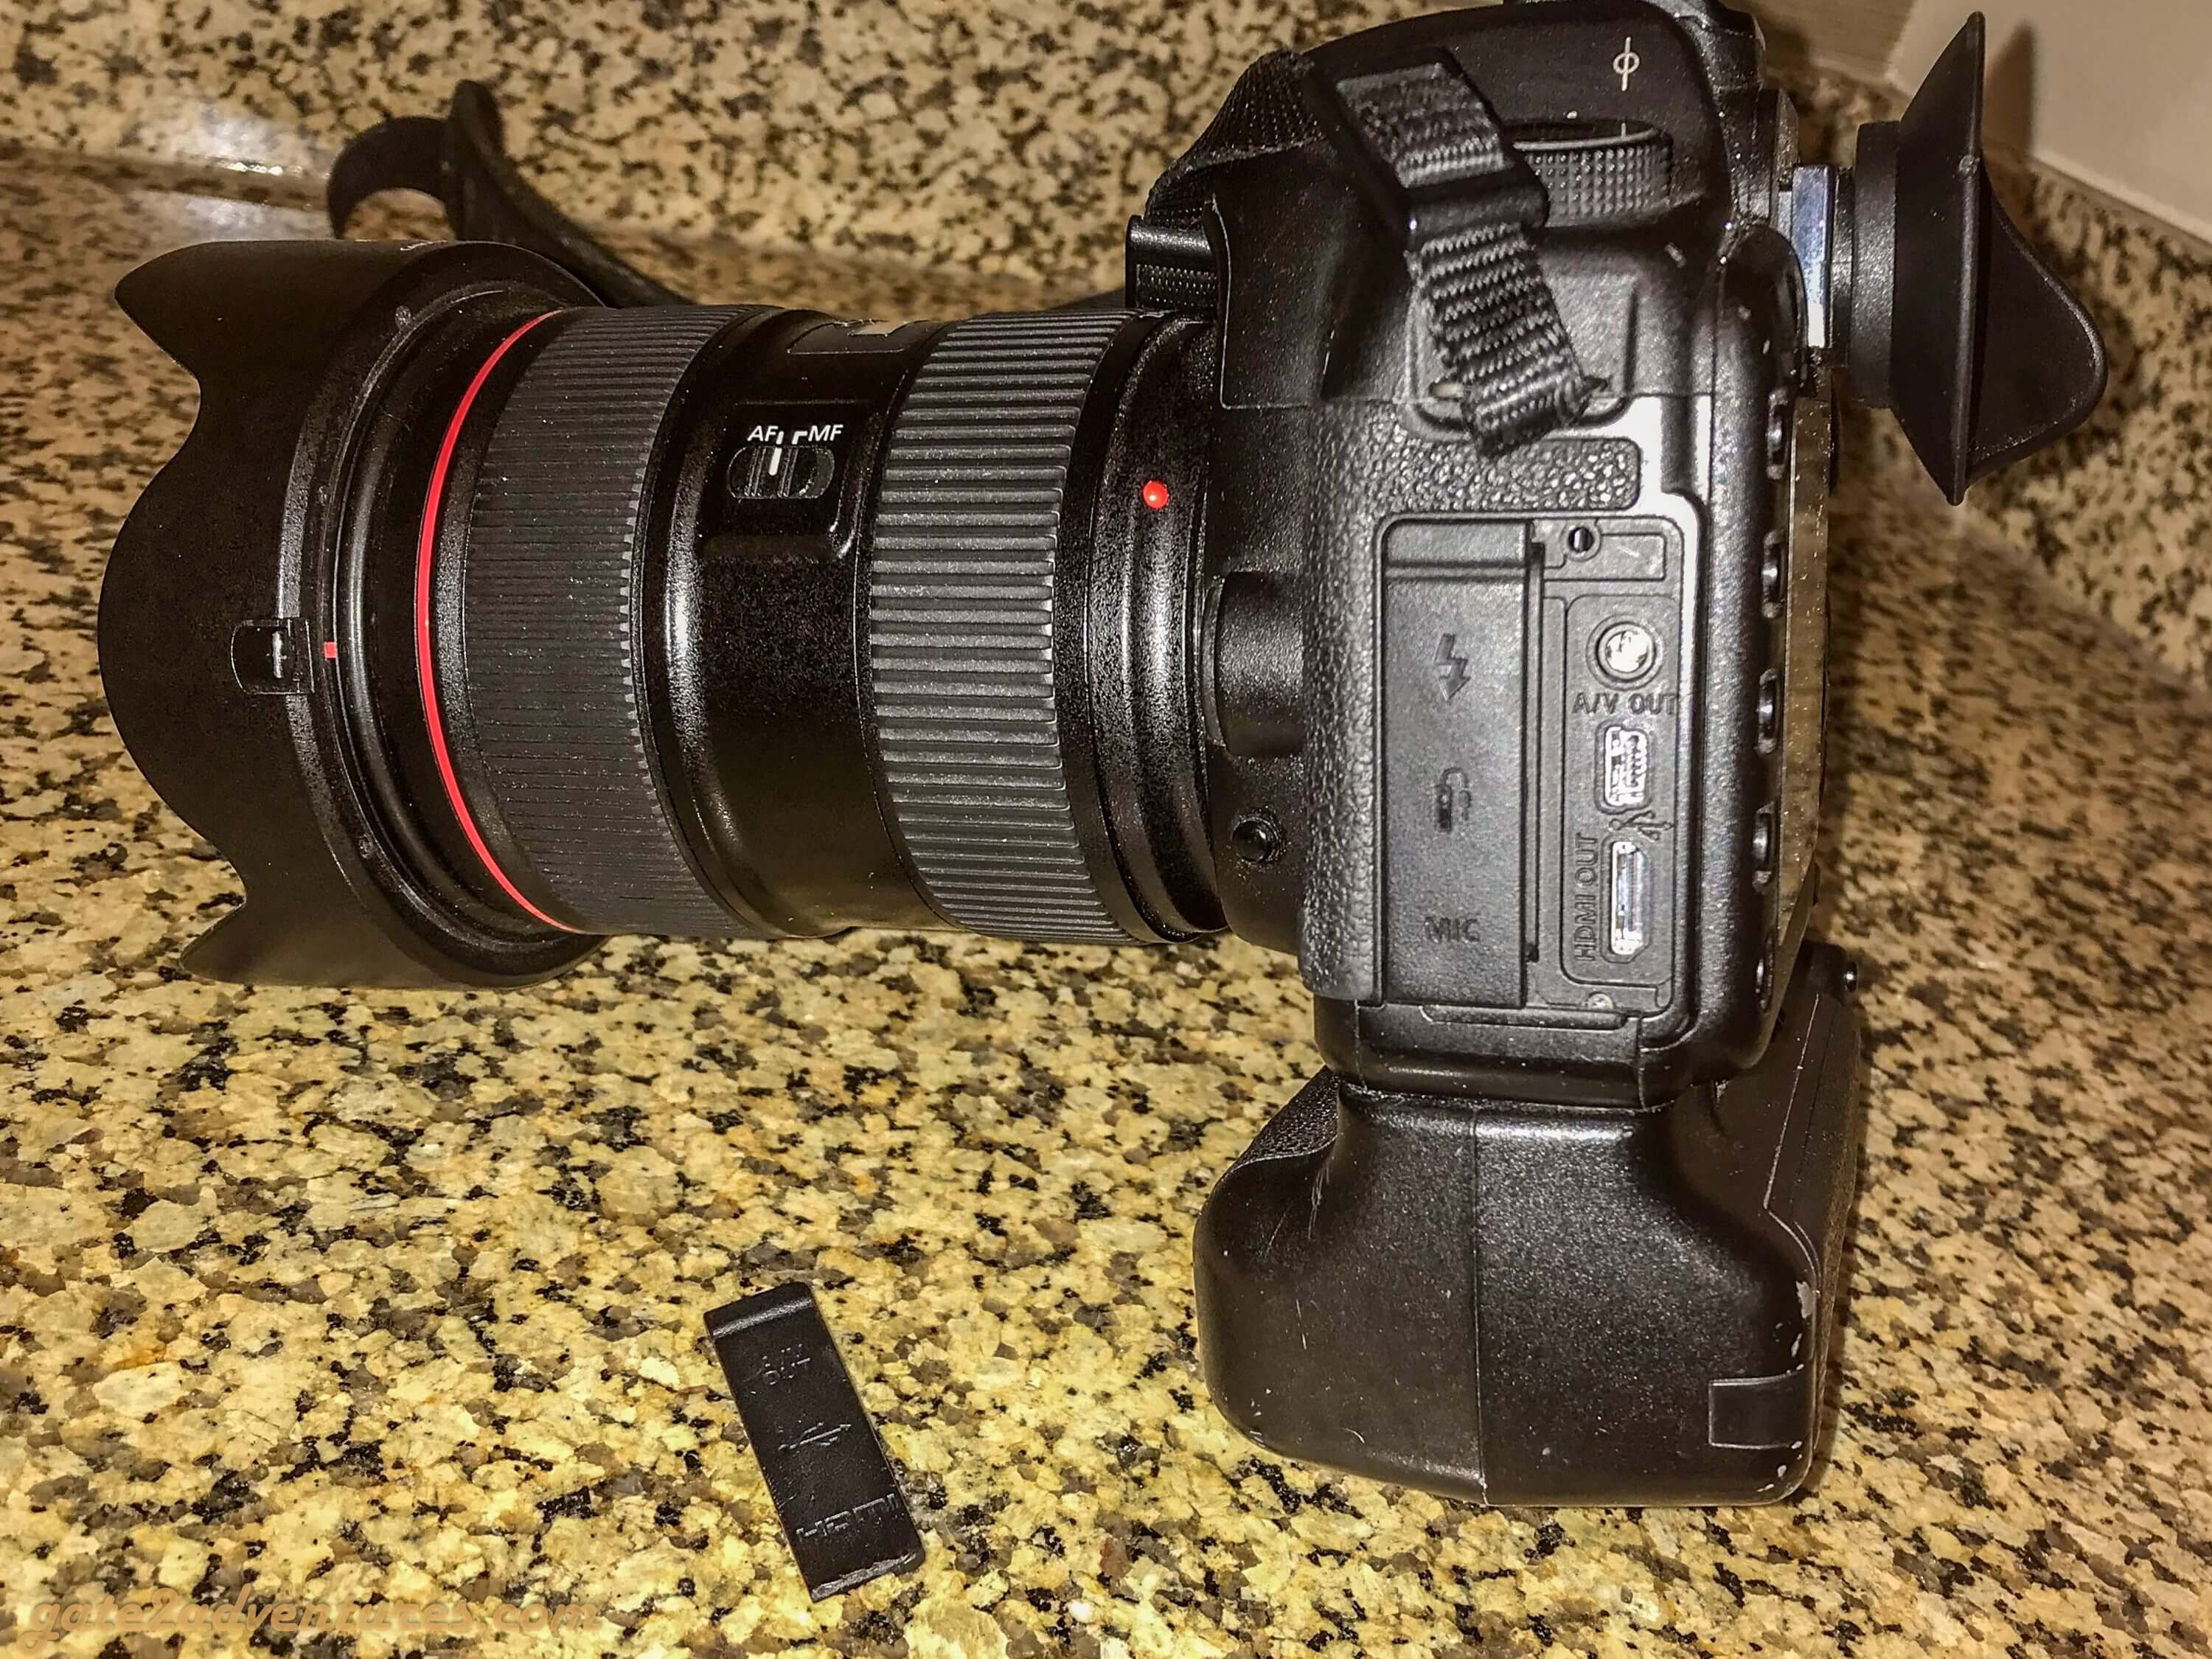
It is just a small little rubber cover. I was hoping they could get the part, I drop the camera off and they have it fixed in no-time. Unfortunately, they didn’t really know the camera. I got told they can’t fix it because the whole camera body needs to be taken apart to replace the rubber cover as it is anchored on the backside. I was a little bit shocked and did some research. After I found the replacement covers, the repair procedure was pretty straight forward.
Step 1: Finding the rubber cover
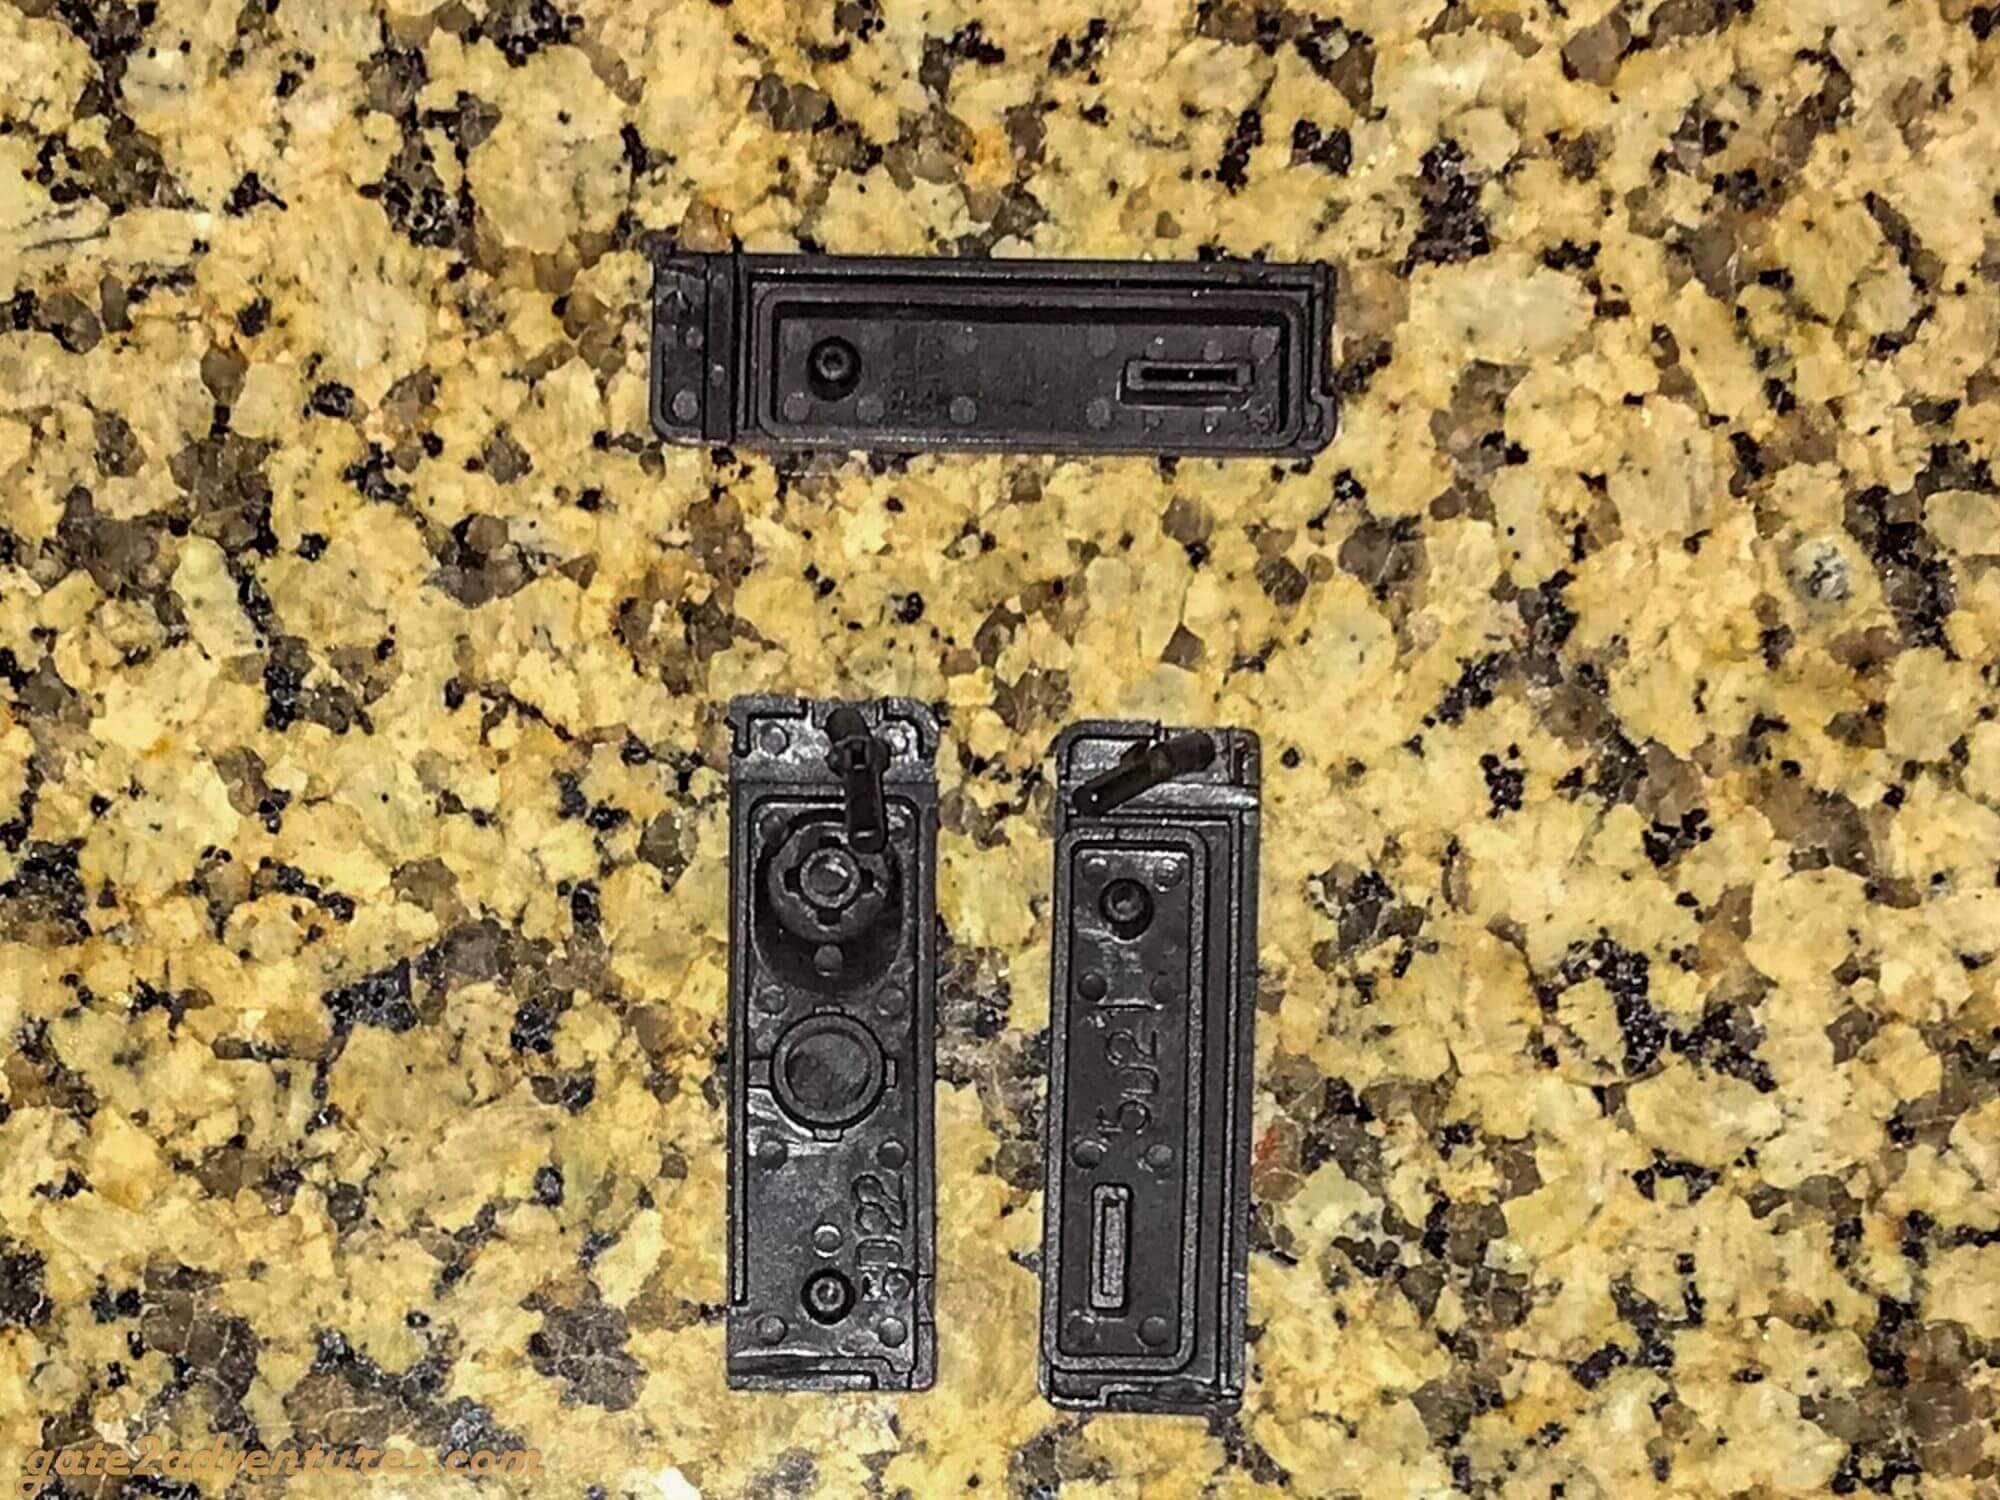
I wasn’t able to find the covers separately and only found a set with both covers for the left side of the camera. Might as well get the set, as the other one could break too at any time. The rubber is old too, even tho I barely use the cover which sits over the remote, flash and microphone connections.
Here a list with Covers. Make sure you select the right one.
Canon EOS 5D
Canon EOS 5D Mark II
Canon EOS 5D Mark III
Canon EOS 6D
Canon EOS 7D
Step 2: Preparing the camera
Info: This and the following steps are for the Canon EOS 5D Mark II. Other models might be different but you can use it as a guideline.
Before you start installing the new cover(s), make sure the camera is ready. Get the broken piece out of the slot if it’s still stuck in there. Small tweezers are very helpful here. Be careful, you can also push the piece in and it will fall inside the body. No idea where it will end up. I doubt that it will cause any damage, but no guarantee.
Step 3: Installing the new cover

Put your camera on a solid surface with the ports facing up. Get a small bowl, add some water and soap and mix it. Dip your fingers in there and put the water-soap mix on the end part of the little rubber prong. Don’t put too much so drops would form.
Set up the prong over the right hole. You won’t have a chance to push it in by hand. You will need a small and dull object to help to push the prong in. I used a Phillips-head screwdriver and carefully pushed with the screwdriver while also applying pressure on the lid part.
You have to play a little bit to get it going. Be careful and gentle. Don’t use a too sharp of an object as it will damage the rubber prong and eventually cut it.
That’s it. Wasn’t that easy? No need to take the camera apart. Even if you would take the camera apart, you still would have to mount the rubber covers the same way. There is nothing on the backside holding the cover in place.
Step 4: Testing

Once you got the rubber prong fully inserted, close the lid and make sure it sits flush as before. You can press on the outside of the cover where the prong sits underneath to get it all the way in, once aligned with all the ports. Make sure the cover has a good sit and no big gaps as this would water allow to get in.
Conclusion
The whole procedure took me less than 30 minutes. If I would have known that, I could have saved the time driving to the camera store in the hope to get my camera fixed. The one way trip to the store was longer than 30 minutes.
I hope this tutorial helped you. Let me know if you have any questions.
Disclaimer
This is just a guide to help you. You are performing these steps at your own risk and I don’t take any responsibility if you damage your camera or other parts.
Peter has a passion for Traveling, Photography, and Geocaching. These are the best ingredients for amazing adventures all over the globe. “Traveling is fun, no matter if you stay in a luxury hotel or travel like a backpacker.” Peter shares his experiences on his Blog www.gatetoadventures.com
Some of Peter’s photos are published on corporate websites, in-flight magazines, travel guides, and much more.


Subscribe
3 Comments
Thanks for the information on the 5D mk II, I also got the same camera and still use to this day. I successfully got the… Read more »
The little piece left in the hole was imposible to take out it’s too hard, I tried with tweezers but the rubber extended until it… Read more »
Thanks for the helpful how-to! As I attempted to follow the instruction here to pull out the remaining rubber, I felt like the part stuck… Read more »